
So as I'm moving into my new Uni house in September with 5 other girls, I thought it'd be nice to make them all a little 'welcome back', 'new house' present. I saw this idea on youtube and decided to have a go.
 |
| The finished look - 'H for my friend Harriet's door. |
They are DIY door hangers.
What you will need:
♥ Plywood letters (I got mine from eBay for 99p each)
♥ Black bootlace/string from hobbycraft at around £1.99
♥ Acrylic paints - hobbycraft £5.99 for a set of 16 colours
♥ Duct tape from any hardware store
♥ Unwanted jewellery/appliqué from craft stores to decorate
Lets get started!


1. Once your Plywood letters are delivered, you're ready to begin! Choose which colour you want each letter to be painted. E.g. My friend Charlie's favourite colour is yellow so that's what colour her letter is.


2. Start painting your letters! I put each one on kitchen roll before I started. You can also use newspaper. The paint does stick to the kitchen roll afterwards but its not hard to remove afterwards-just be careful not to ruin your paint work. I did two coats for each letter.
TIP: if you want the colours to be softer for example the blue, green and yellow were too harsh as I wanted them to be more pastelly colours-you can add in some white paint to that colour to soften it down. I also aded a small amount of brown to the white to create a cream for one of the 'R's.


Now that all of your letters are painted and dry, you can move onto step two.
2. Choose an old necklace or something similar to use for appliqué. I used an old Primark necklace with pastel flowers all over it. I removed the chain and sorted out which colours would suit each letter best. You can also purchase different craft appliqué from various craft stores or on eBay.
 |

3. Use a strong glue to apply your appliqué to the painted letters. I used nail glue which is the same stuff as superglue so that would also work. Just make sure its very strong.
4. Apply a generous amount on the back of the appliqué and firmly press it onto the letter for about 20 seconds on the part of the letter you have chosen to decorate.


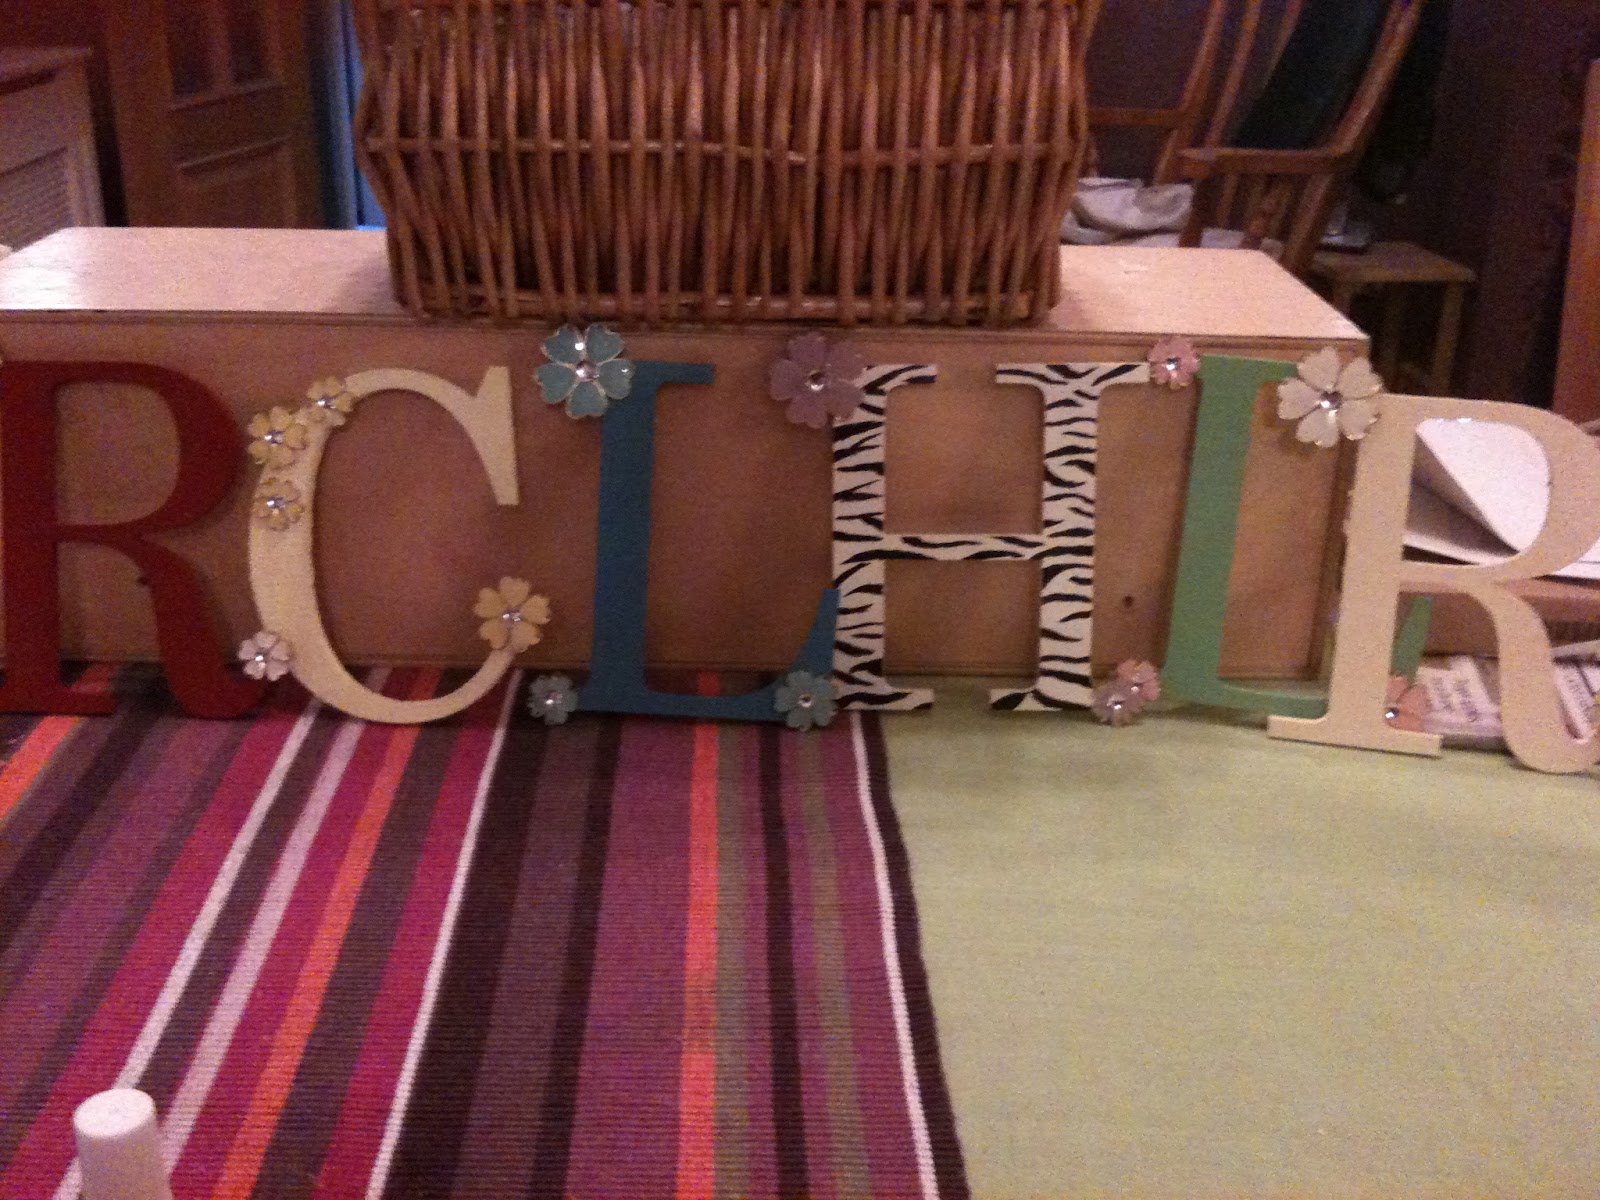

4. Once you've applied all of your chosen decorations, its time to add the lace as a hanger. I used about a foot of bootlace for each letter. I then used a thin strip of duct tape to apply the bootlace to the back of the letter. Make sure the weight is even so the letter doesn't tilt when you hang it up. It was particularly tricky doing the 'L's.


And then you're done! Hope you liked it and I hope it inspires you to create your own. You can also do the letters without the string/lace and mount them on the wall.
Good luck!
Rosie
x
Wow these are so cute!!
ReplyDeleteI can't wait to move into my uni house in septemberrrrr :)
Claudia X
aww thanks! I had lots of fun making them! I know i cant wait either-so excited to redecorate me room x
DeleteHola! Qué lindo trabajo de manualidades!!!
ReplyDeleteHi :D what a wonderful work!!!
I love these kind of things
I follow you
xoxo from peru
http://gatocontacos.blogspot.com/
Woow, amazing idea... really creative idea, love it!! ♥♥
ReplyDeleteReally cool and love ur blog tooo!!
www.foreverglamx.blogspot.co.uk